
SHARE:

 |
At Sanborn Mills Farm, preserving the past and planning for the future go hand in hand! March 2019 eNews 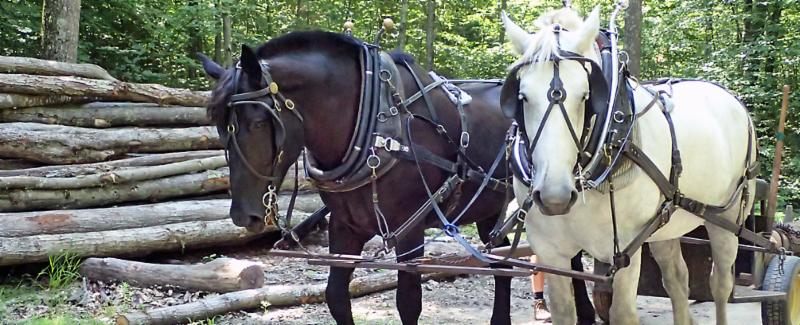
What’s a corn cracker ?
Historically, there was a corn cracker in our 1830 grist mill. It was used to pulverize dried corn cobs – kernels and all – to be used for animal feed. 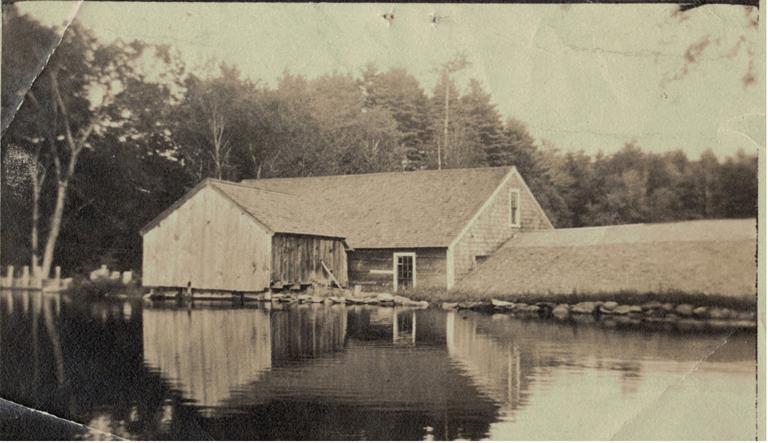
Our grist mill before the storage shed was removed.
With the passage of years, our corn cracker fell out of use but it is about to be put back to work.
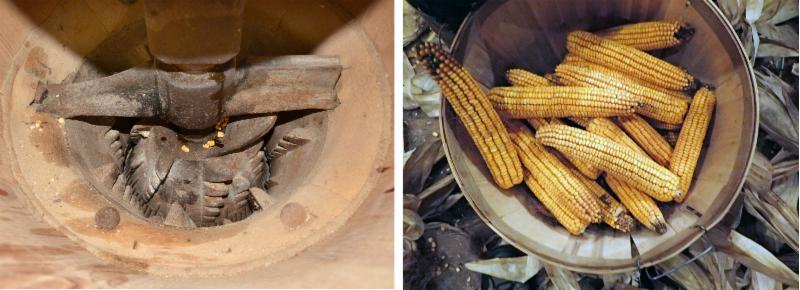
Close up of the grinding teeth of the corn cracker (left). During the winter months, our millwrights Brian Clough, Jake Farmer, and Brian’s son Logan Clough have been working on designing and building gearing to connect the corn cracker to the water wheel. Powering the corn cracker will start by opening the gate valve that releases water from the pond into the penstock. The next step is to transfer the power from the water wheel through a series of gears that change the direction of the power and increase the RPM enough to crush the cobs.
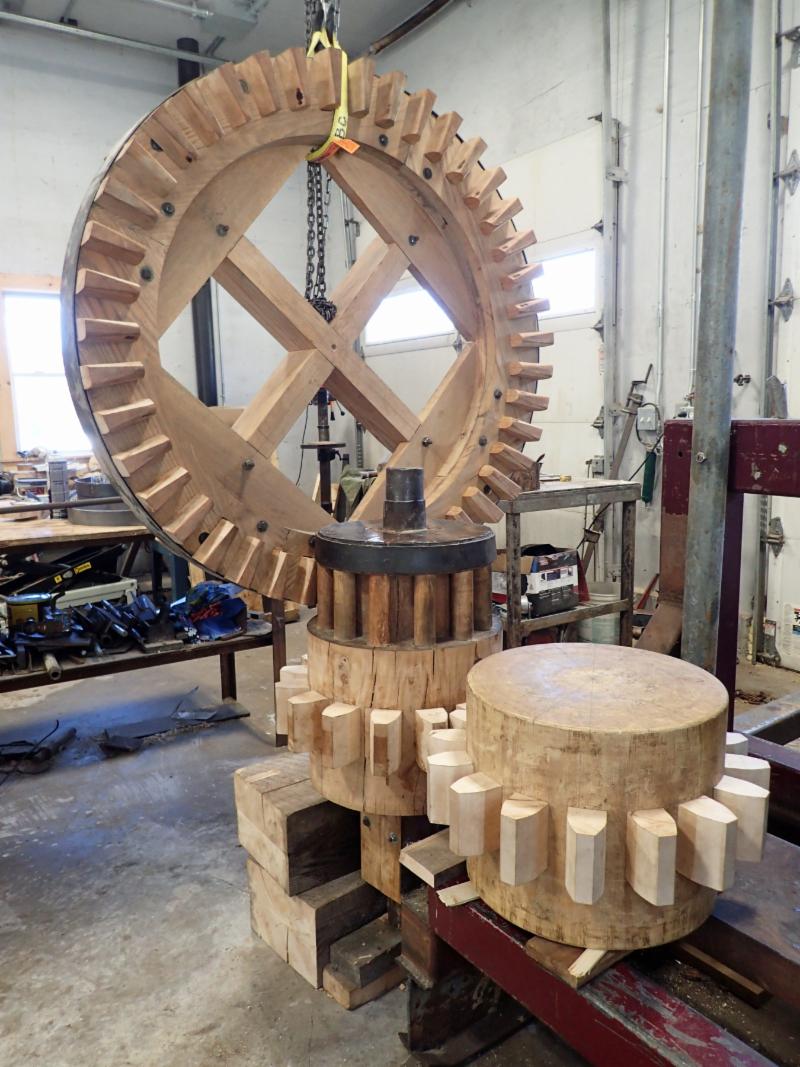
Gears hoisted into place to check the fit.
Normally, the power would be transferred using two large gears (one horizontal and one vertical), but there is limited space under the grist mill so the team is building a series of four gears. The face gear is vertical and drives the lantern gear. The lantern gear will intersect with a spur gear and the spur will connect with the vertical shaft that drives the corn cracker. 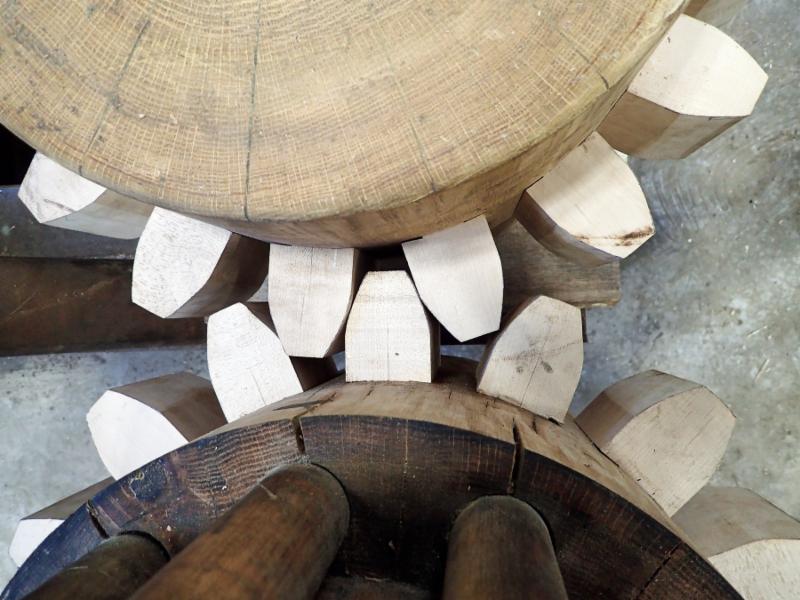
The gears need to mesh perfectly. Our millwright team fashioned the main body of the gears from white oak and the teeth from rock maple. Once installed, the spaces between the teeth will be lubricated with an old-fashioned mixture of beef tallow and beeswax. 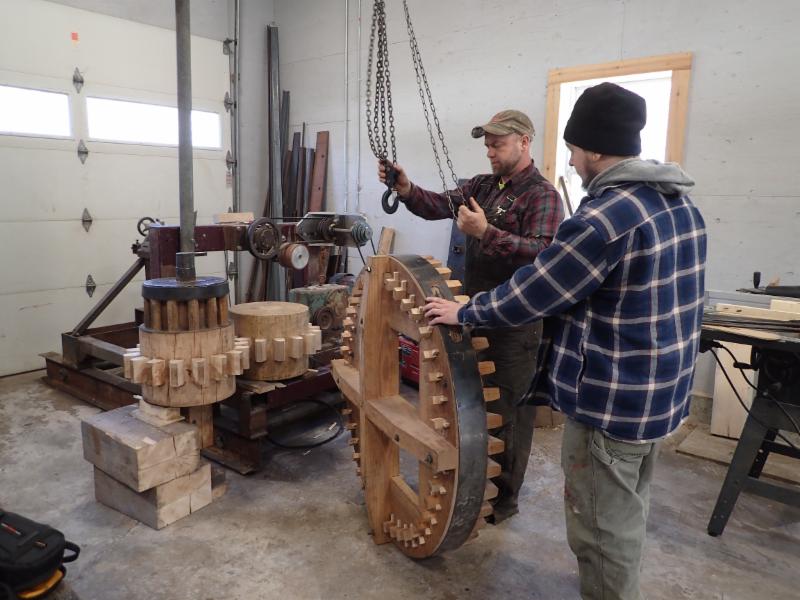
Brian Clough (right) and Logan Clough (left) prepare to hoist the gears up to check their fit.
This fall, we’ll look forward to grinding corn grown in our field by Farm Manager Ray Ramsey and his team. And, we predict the chickens will be happy about the whole project. 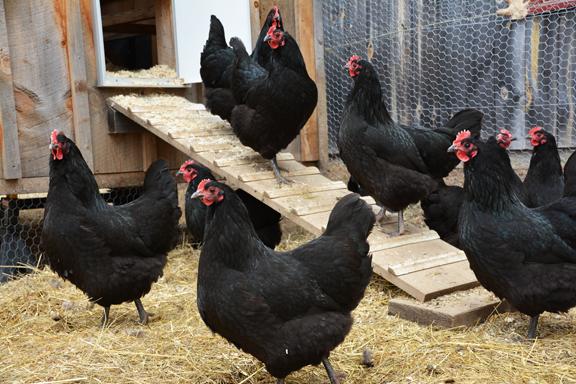
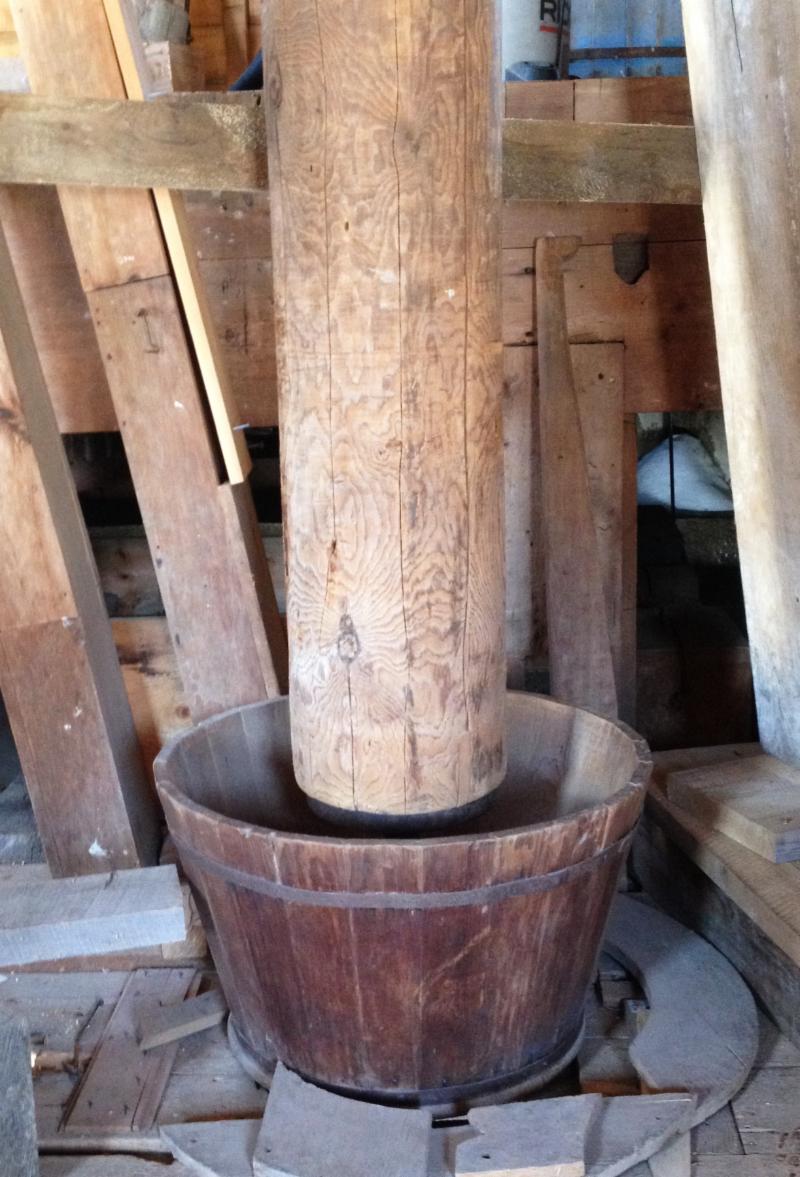
Corn cracker in the grist mill.
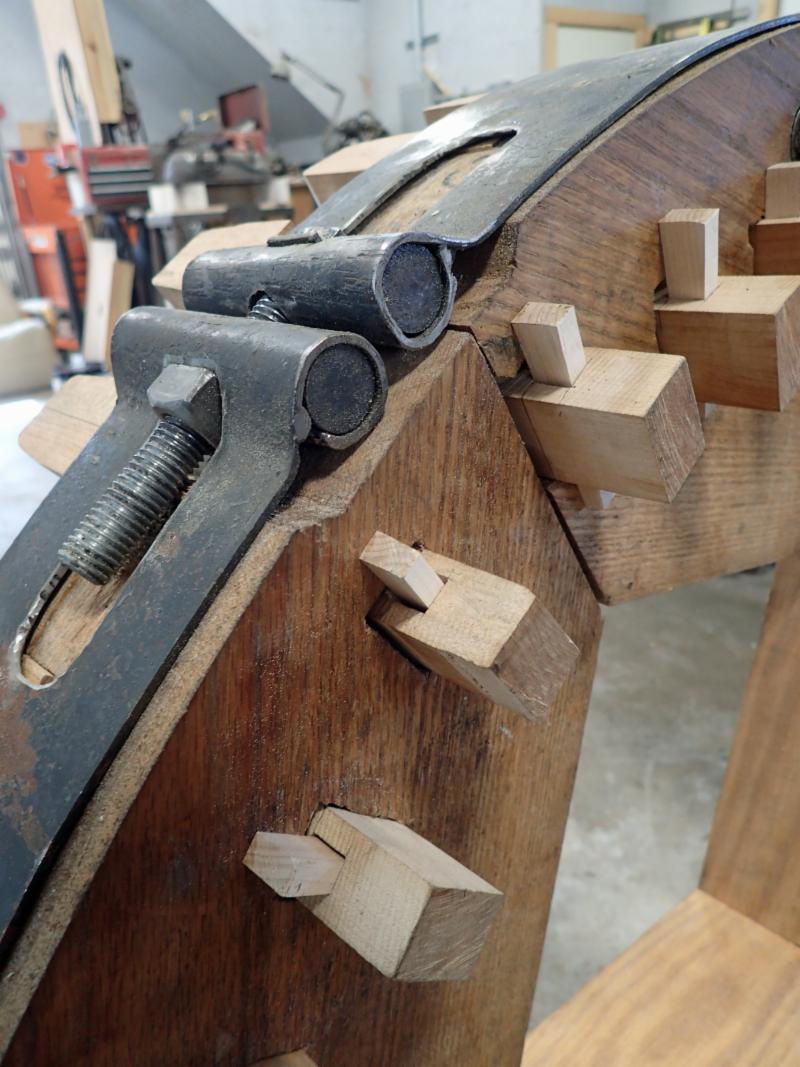
Brian custom made an adjustable metal band to help hold the gear teeth firmly in place.
Restoring our historic threshing machine . . .
For much of mankind’s history of growing grains removing those tiny edible kernels from the stalk – a process called threshing – has involved a great deal of time and effort.
Before the invention of the mechanized threshing machine in 1786 by Scotsman
Andrew Meikle,
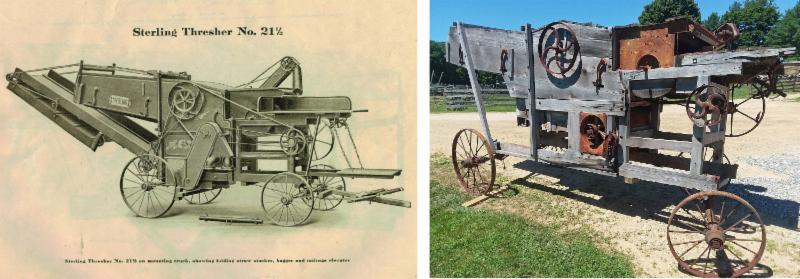
Vintage advertisement for a Sterling Thresher (left). Our thresher as looked when it arrived last fall (right). Though modern farmers generally use a combine harvester that performs all the necessary processes of harvesting, threshing, and winnowing right from the field, our goal is to preserve the skills and knowledge of how to repair and use 19th century equipment. Last fall the New Hampshire Farm Museum in Milton donated a 1919 thresher and so this winter our Farm Manager Ray Ramsey set about restoring it. 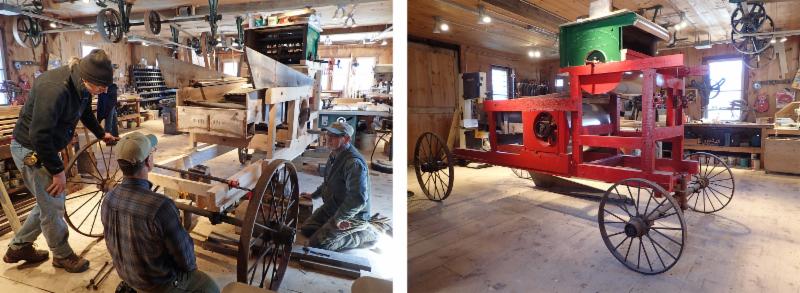
Jeremy Morse, Ray Ramsey and Ray St Pierre working on setting the wheels for the thresher Happily, most of the metal parts were still intact, but most of the wooden framework needed to be replaced. Our thresher still needs all the belts to get it running but we can’t wait to try it out this fall on our crop of oats.
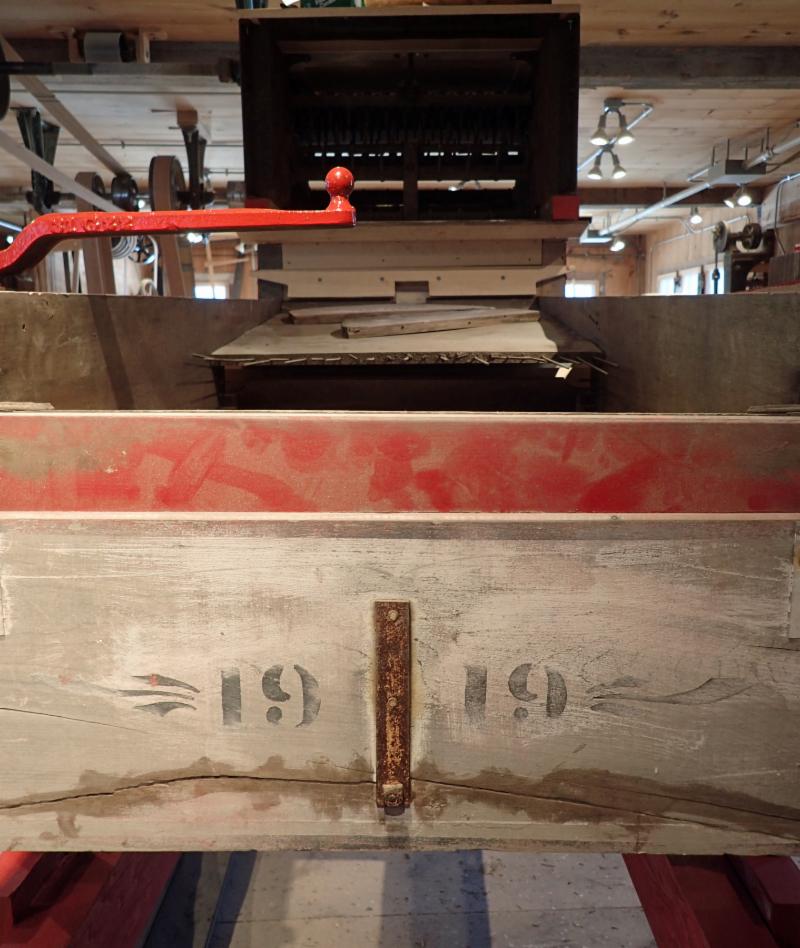
Our thresher’s date insignia
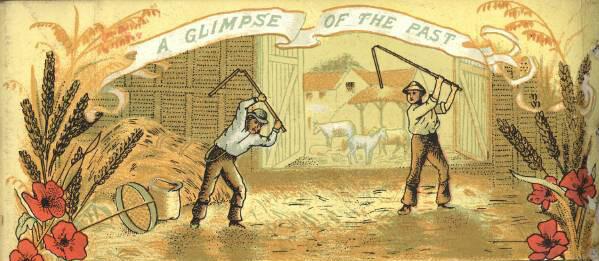
Historic depiction of flailing grain.
Spotlight on 2019 workshops . . .
We are expanding our draft animal program!
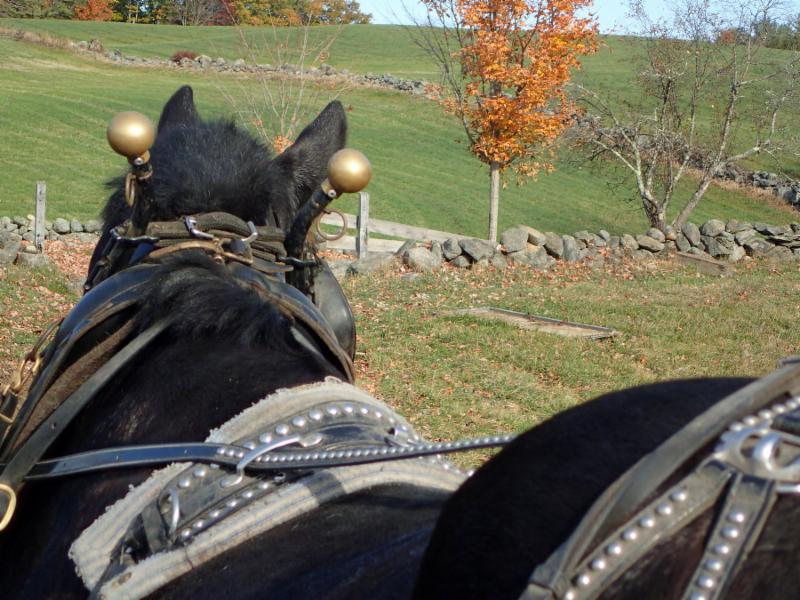
If you love draft horses and are looking for ways to integrate them into work on your farm, come join us for a newly scheduled workshop – Introduction to Working with Draft Horses on October 5 & 6. The focus will be on how to work safely and effectively with draft horses in a farm setting and will provide some information on animal husbandry. Students will be working with our experienced teamsters and our highly trained team of Percheron draft horses Willie & Rose.
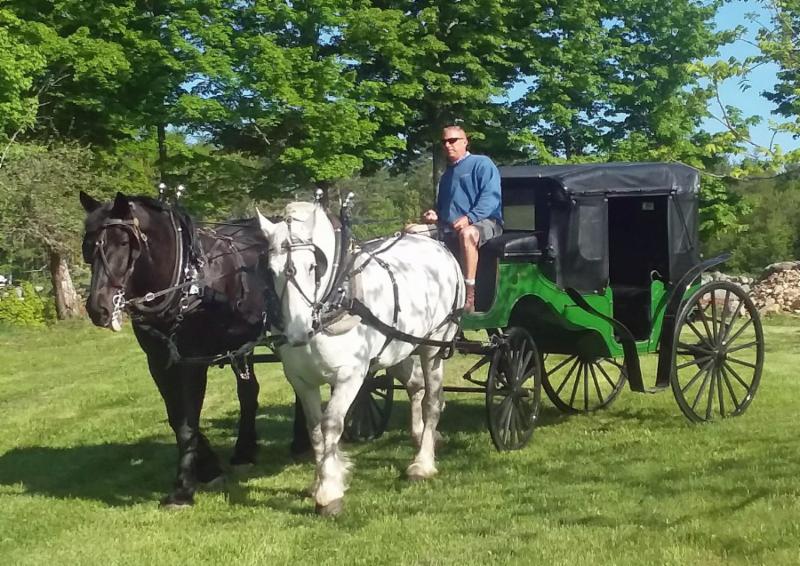
John Schlang with Willie & Rose and one of our historic carriages.
Interested in trying your hand at multiple skills in one workshop?
If so, there are still spaces in the Carving Knife workshop June 21 to 23. The workshop will be taught by the multi-talented Lucian Avery from Hardwick, Vermont. Students in this 3-day workshop will start off by drawing out a tang and a blade for a carving knife. Lucian will demonstrate how to get a precise bevel by hand filing. Students will learn the all-important skills of hardening and tempering the blade to insure that it can be used for a variety of tasks. In the process, students will learn how to manage a coal fired forge.
After completing the blade, students will be able to custom carve their wooden handle, shaping it so it’s a perfect fit. A handmade knife deserves a proper sheath so Lucian will be bringing a sheet of rawhide he’s prepared himself and students will learn how to cut, shape, and stitch a custom made sheath for their knife. After completing the knife, handle, and sheath, students will be able to put their knife to work by whittling some useful kitchen implements using locally harvested wood. Students will make a butter knife and as time permits, move on to whittling a kitchen spoon. Lucian will be bringing a variety of his own handmade tools, including an hand axe, to help with the process.
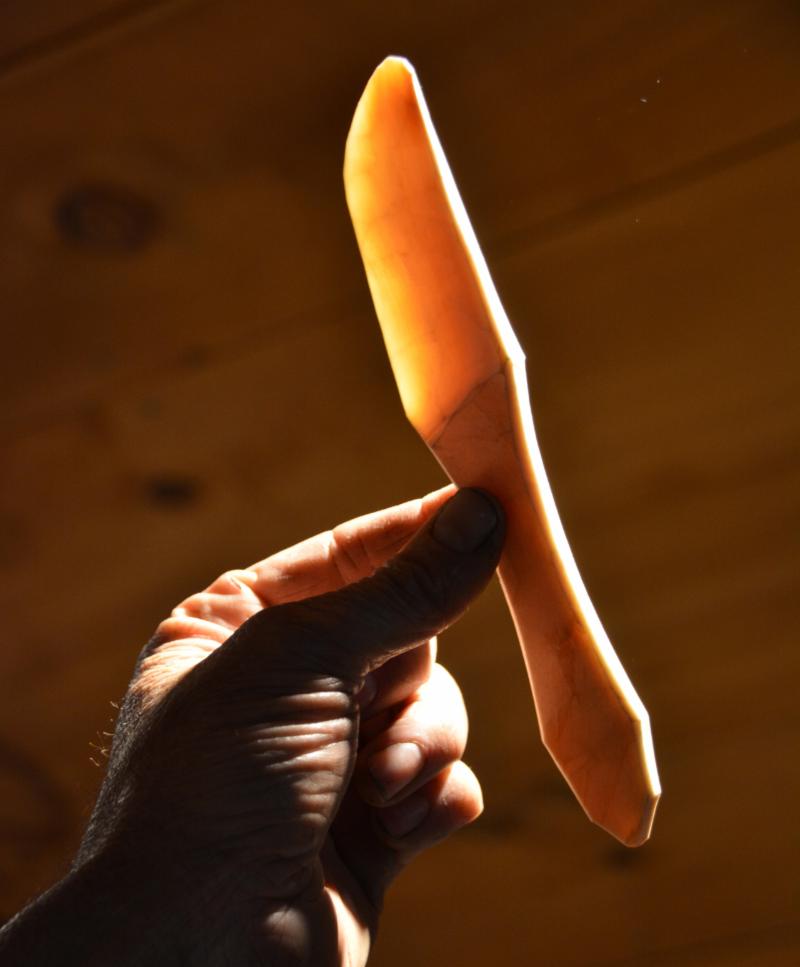
With patience you can achieve a translucent edge to a wooden knife.
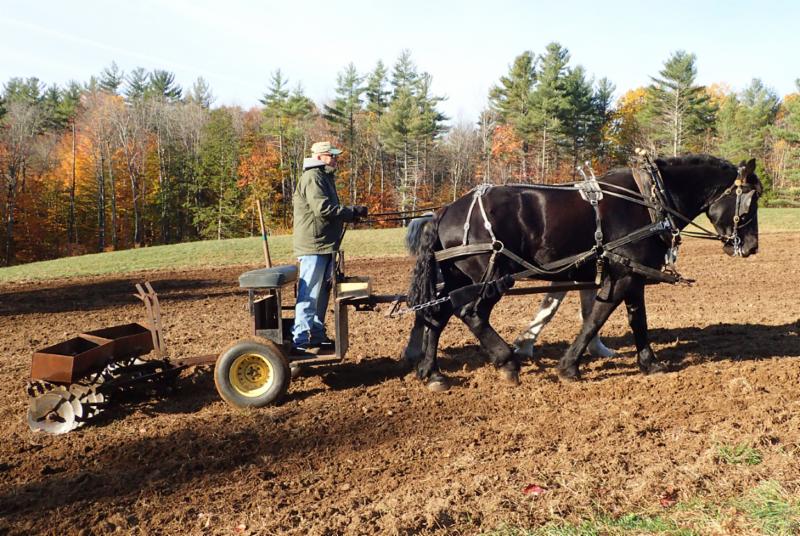
John Schlang disc harrowing a field with Willie & Rose.
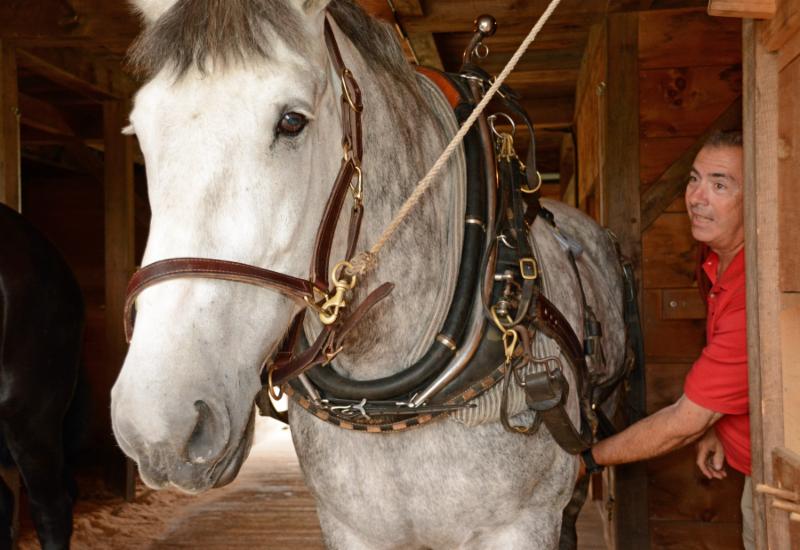
John Schlang harnessing Rose.
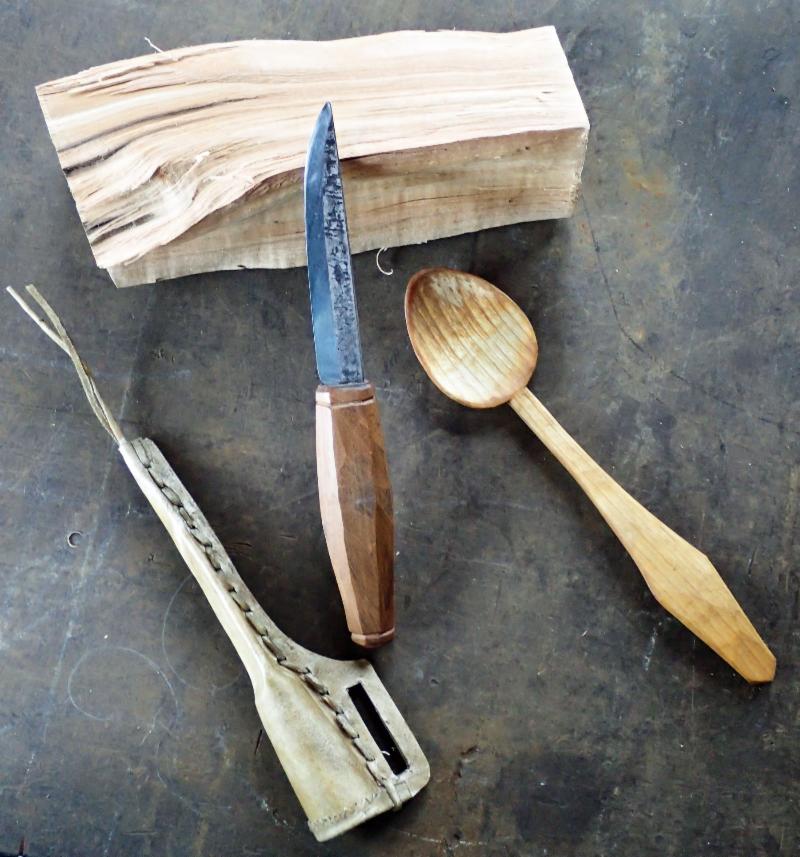
Rawhide sheath, carving knife and spoon.
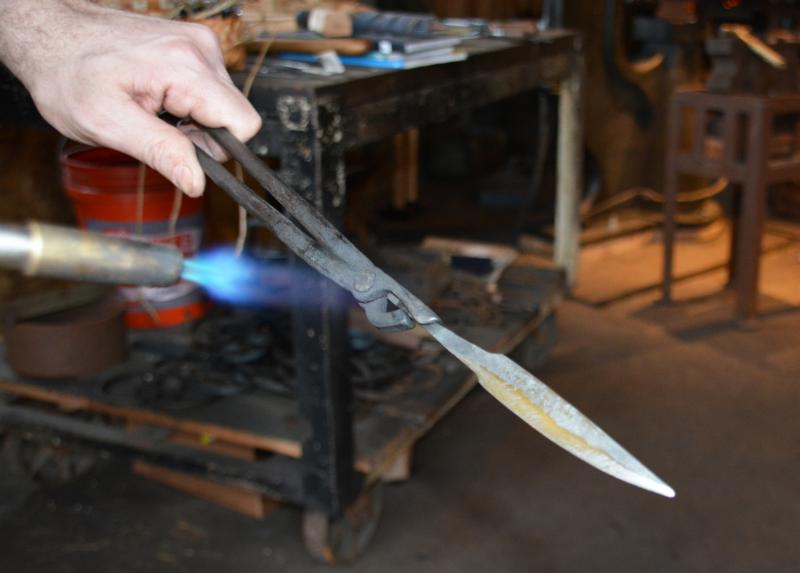
Heating the blade for hardening & tempering. 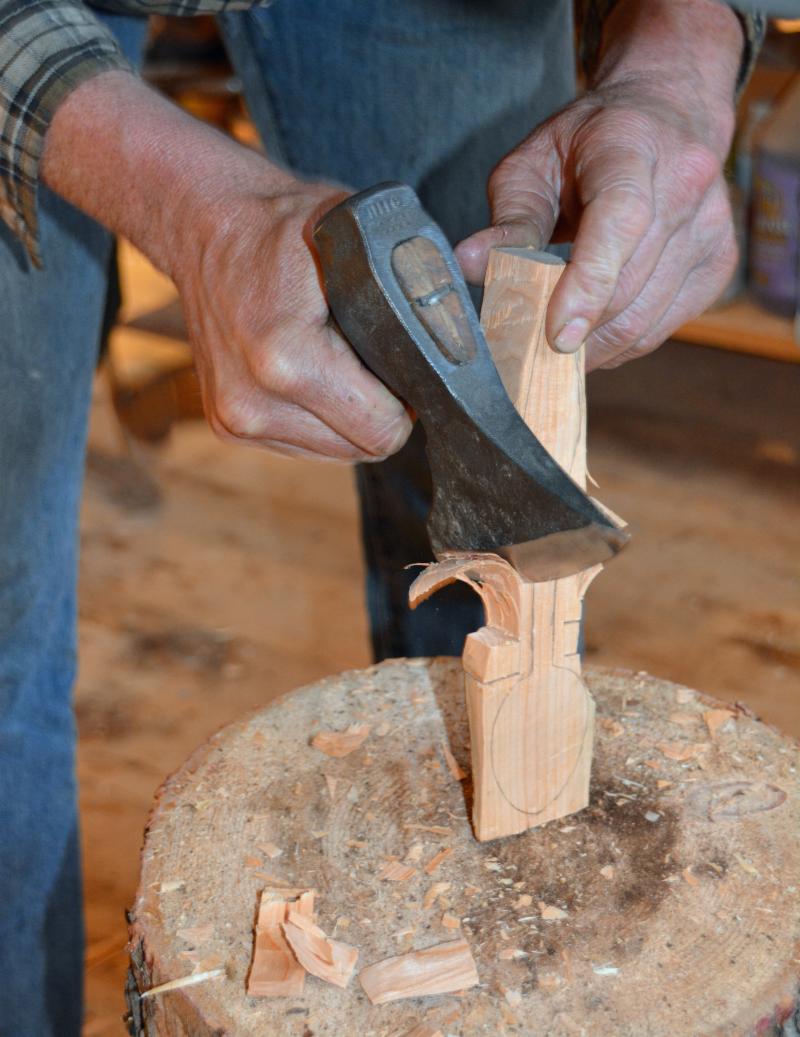
Shaping a spoon starts with a hand axe.
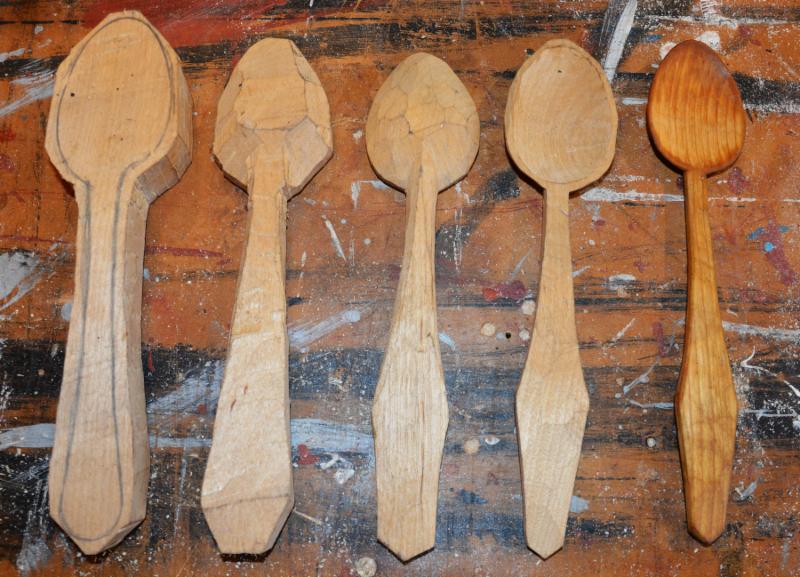
Stages in shaping a wooden kitchen spoon.
The Ox Corner
Oxen workshops are about to begin and it promises to be a busy spring!
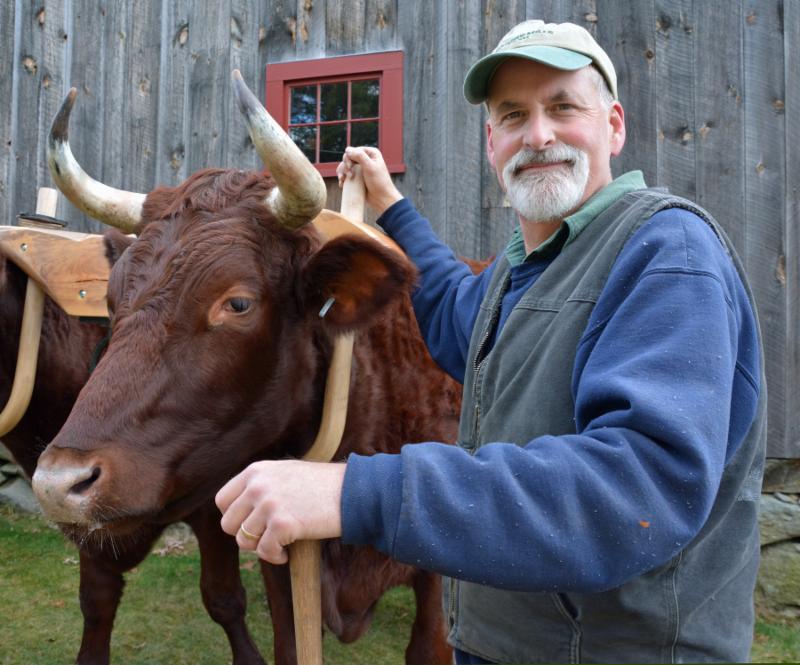
Keep in mind that if you need private instruction or consultation to get your oxen skills or equipment up to the next level, you can contact Tim Huppe at
Credits for photos:
Historic image of flailing grain courtesy of Photo of thresher when it arrived at SMF and photo of John Schlang with the historic carriage by Ray Ramsey. All other photos by Lynn Martin Graton.
Corn cracker in the grist mill.
Brian custom made an adjustable metal band to help hold the gear teeth firmly in place.
Heating the blade for hardening & tempering.
Shaping a spoon starts with a hand axe.
Stages in shaping a wooden kitchen spoon.
Sanborn Mills Inc. | 603-435-7314 |
A traditional New Hampshire farm and nonprofit organization dedicated to sustainability, creativity, and preserving folklife skills and agricultural knowledge so that the best of the past can help shape our future.
Corn cracker in the grist mill.
Brian custom made an adjustable metal band to help hold the gear teeth firmly in place.
Heating the blade for hardening & tempering.
Shaping a spoon starts with a hand axe.
Stages in shaping a wooden kitchen spoon.
STAY CONNECTED: 


Corn cracker in the grist mill.
Brian custom made an adjustable metal band to help hold the gear teeth firmly in place.
Heating the blade for hardening & tempering.
Shaping a spoon starts with a hand axe.
Stages in shaping a wooden kitchen spoon.
|
|